Serialized Item
Within ServiceWorks, you can now access the serialized items search feature, which combines the functions of the Serial Number Search, Serial Numbers Available, and Serialized Items Sold reports all in one easy-to-use menu. Here’s how to view this within your account:
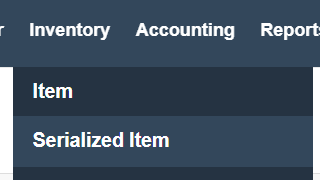
To begin, log into your ServiceWorks account, then hover over the Inventory tab on the toolbar. From the drop-down menu that appears, select Serialized Item.
In the Serialized Items Search menu, you’ll have the following options:
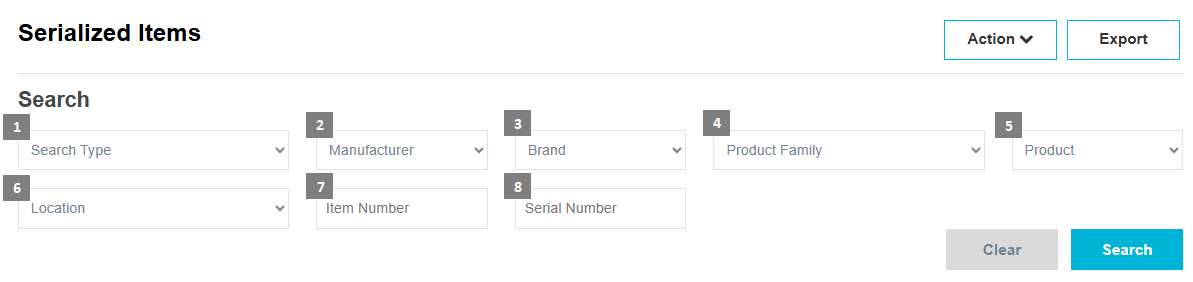
1. Search Type – The search type field can be used to generate a search query based on the type selected: Serial Numbers Available, and Serialized Items Sold.
2. Manufacturer – Search for serialized items by the items assigned manufacturer.
3. Brand – Search for serialized items by the item’s assigned brand.
4. Product Family – Search for serialized item’s by the product family assigned.
5. Product – Search for serialized items by the product’s tree.
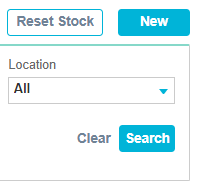
6. Location – View results based on a serialized item’s current inventory location.
7. Item Number – Search for serialized items by their item number.
8. Serial Number – Search for serialized items by their serial number.
You can use one or as many of these parameters needed to search for serialized items within your ServiceWorks account. Once finished with entering your search criteria, click Search to continue.
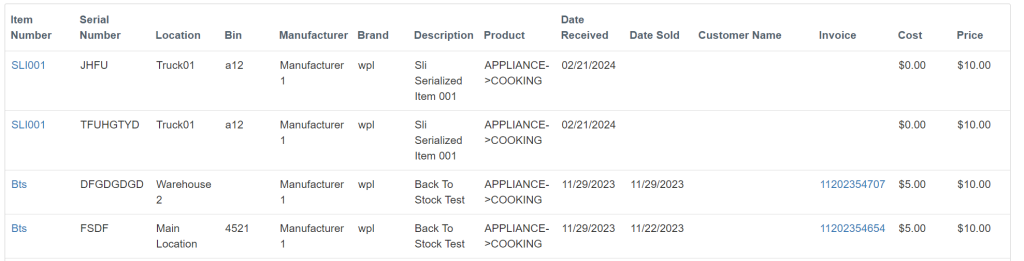
Once generated, you should see the listing of serialized items in the table below, including parameters such as Date Received, Date Sold, Customer Name, Invoice Number, and the item’s cost and price. Within this table, the Item Number and Invoice columns will also have links to the item and the invoice it’s attached to, respectively.
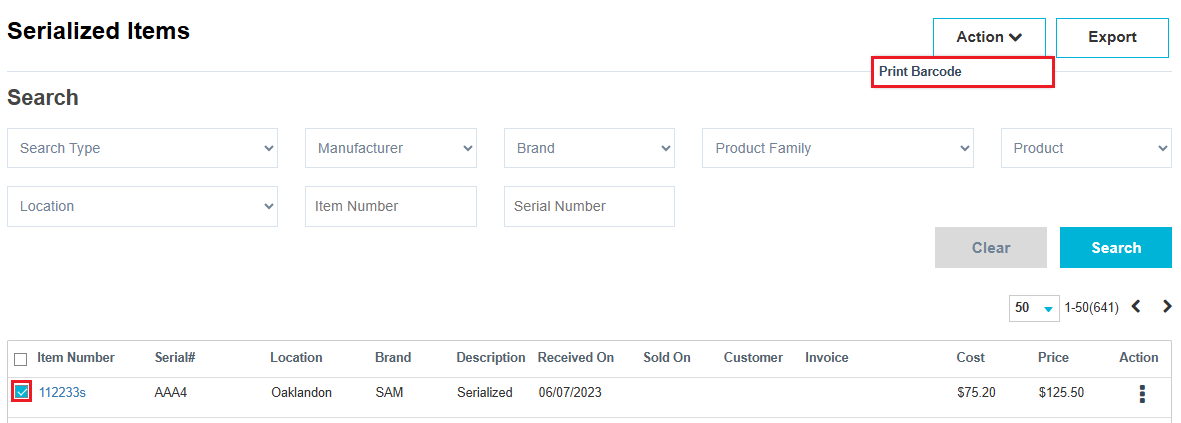
You can use the Action drop down menu to print Barcode for the selected item. You can also select all items and print Barcodes. To print Barcodes it is required to install Dymo printer in your system.
In addition to generating your search results, you can also use the Export button to create an Excel file of all the serialized items shown.

Creating Serialized Items
Serializing items is a valuable practice in various fields, such as computer science, data management, and logistics, for several key reasons.
First, it simplifies tracking and identification. By assigning unique serial numbers to appliances, service technicians can quickly pinpoint the exact model and specifications, expediting repairs and reducing downtime. This ensures that the right parts are ordered and installed, resulting in a faster and more efficient service.
Secondly, serialization aids in warranty and maintenance management. Appliance companies can monitor the warranty status and service history of each unit more effectively, allowing for proactive maintenance and cost-saving measures. This benefits both companies and customers, as it ensures appliances stay in optimal condition and minimizes the inconvenience of unexpected breakdowns.
Lastly, it simplifies recalls and quality control. In cases of product recalls or quality issues, serialized items can be swiftly identified and isolated, preventing potentially costly recalls from spiraling out of control.
In essence, serialization is a powerful tool for appliance and repair companies, enhancing efficiency, accuracy, and customer satisfaction by enabling precise tracking, optimized maintenance, and improved overall service quality.
Below are steps on how to create your own serialized items within the ServiceWorks software.
Step 1: Create A Product Family & Product Detail
Before you can create a serialized item, however, you must first ensure that there are both a Product Family and Product Detail within your system’s settings to assign it to.
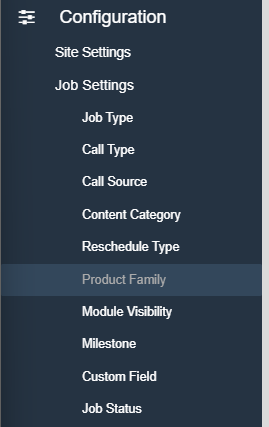
To begin, open the Configuration Tab using the cogwheel on the toolbar and navigate to Configuration -> Job Settings -> Product Family.
Next, in the Product Family menu, click the New Product Family button in the upper right hand corner.

In the following popup menu, name your new product family. Once finished, click Save to continue.

Now that you’ve created your new product family, you’ll need to add the product details. Click on the newly created product family within the list, and then click Add to create a product detail.
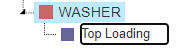
Once you’ve entered a detail name, you’re ready to create the item within your inventory.
Step 2: Create Equipment As Serialized Inventory Item
To begin this process, hover over the Inventory tab in the toolbar and click on Item.
In the inventory item view, click New.
Now enter the information for your item on the Edit Item page. Make sure to have the item marked as Serialized and to have it mapped to a Product Family and Product Detail.
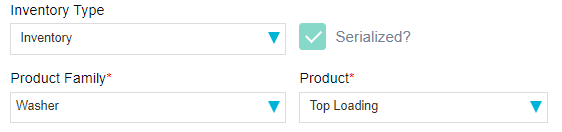
Continue adding the remaining information to the item, then click Save to move on.
WARNING: If you do not click the Serialized checkbox BEFORE saving, this item will not save as a serialized item, and this process will not work. If this occurs, you will need to delete the item from your inventory and start Step 2 over again. Use this guide for reference.
Now that the equipment item is created in your inventory, you’ll need to assign a serial number for tracking. To do so, click on the Location/Quantity tab in the Edit Inventory Item menu.

Next, click on the Adjust Quantity link on next to the location of your choice.

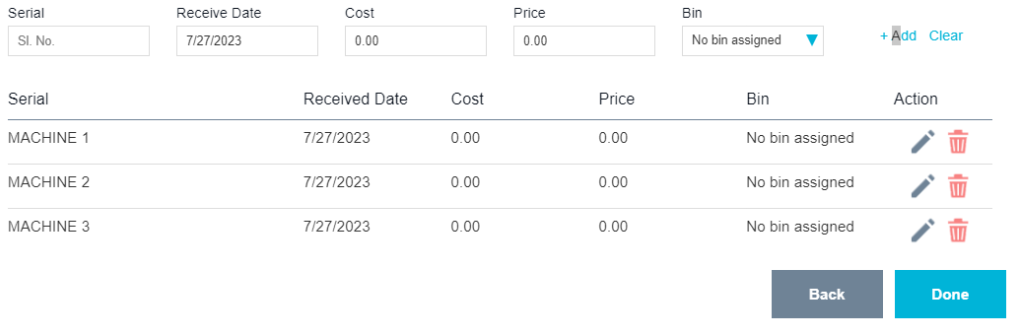
In the following popup menu, use the Serial field to add a serial number, and then click the +Add link. These can be the actual serial number for the equipment or another number for your personal ease of use.

Repeat this process for all quantities of this item and click Done when finished.
Step 3: Adding Equipment To Jobs
Now that you’ve set up your serialized item, you can add it to invoice tickets.
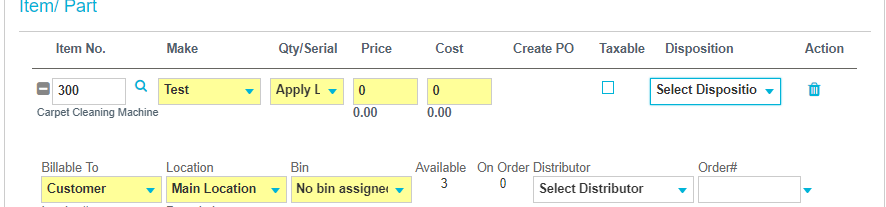
Within the Item/Part Section, enter either the item number or name of the item to add it to the job.
Be sure to make sure the Location field is set to where the items are currently held, otherwise you WILL NOT be able to assign serial numbers.
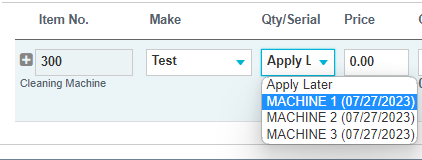
Click Save and then return to the item section of the invoice. Click the dropdown box under the Qty/Serial column and assign one of the created serial numbers to the item.
You can view the current progress, availability, and status of your serialized items using the Serial Number Search, Serial Numbers Available, and Serialized Items Sold reports.