Terminal
In addition to the standard version of the POS module, you can also access Terminal, a simplified view of the POS module much like a checkout at a store. Here’s a quick tutorial on how to use this section:
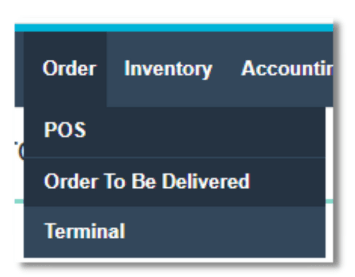
To begin, hover over the Order section within the toolbar and select Terminal from the dropdown.
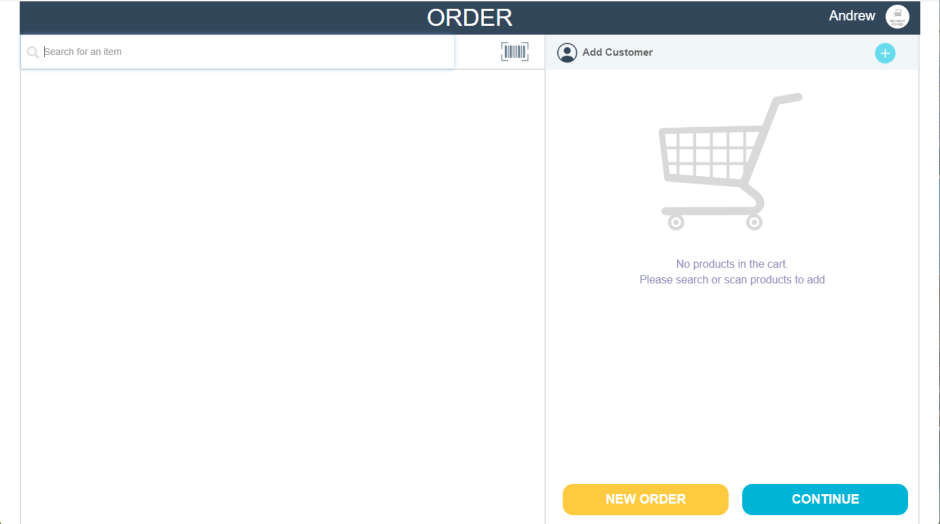
When clicked, you’ll be taken to the Order menu. To create a new order from this menu, click the New Order button.
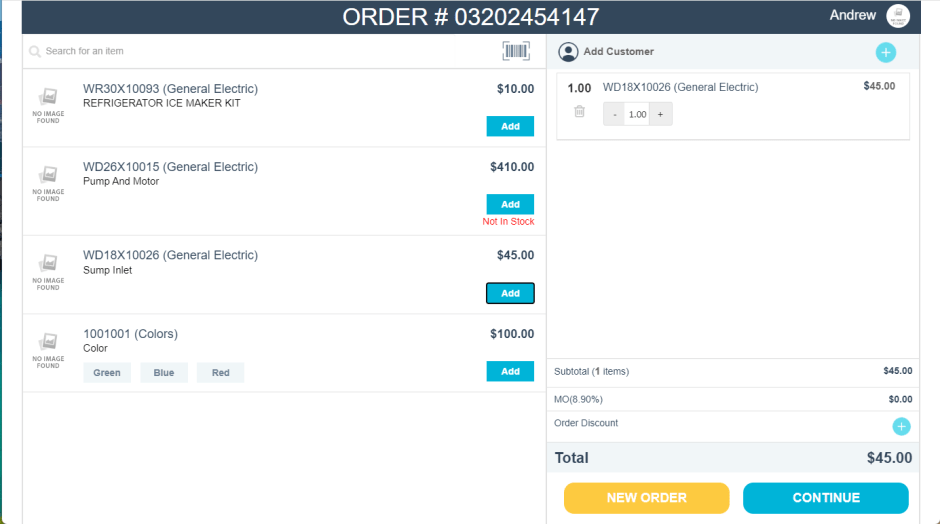
Using the item search field, you can enter either item numbers or descriptions to pull up inventory. You can also use the barcode icon and a scanner to scan your inventory items for sale.

Once you’ve begun to pull up items, you can add them to the order by clicking the Add button. Once added, you can edit the quantity of the item in the right panel.
Next, you can create or add an existing customer account in the order using the Add Customer function.

You can add customer information in the Customer Details tab.
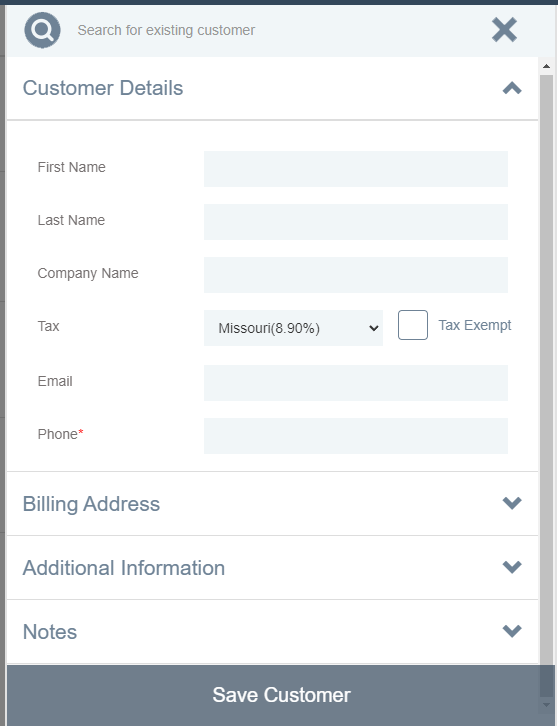
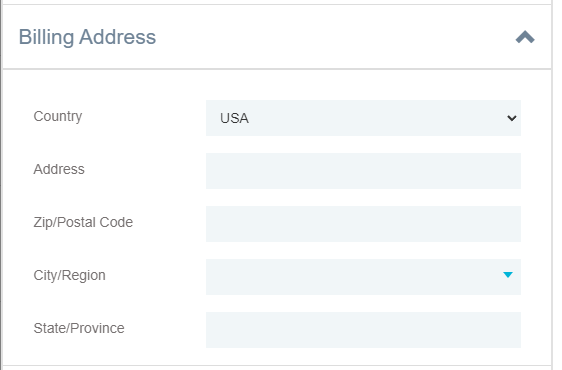
Enter information about their billing address in the Billing Address tab.
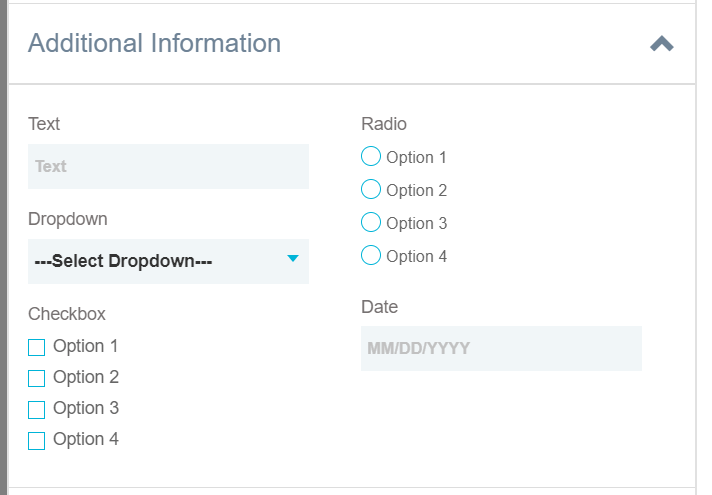
View and fill out Customer Custom Fields in the Additional Information section.
Or use the Notes section to keep any important information about the customer handy.
Alternatively, if the order is for an existing customer, their information will begin to populate into the field as you type in their information.
When finished creating or searching your desired customer, click Update Customer to continue with the order.

Below the item list, you’ll see a few amounts related to the items being sold: Subtotal, Tax Rate, and Order Discount.
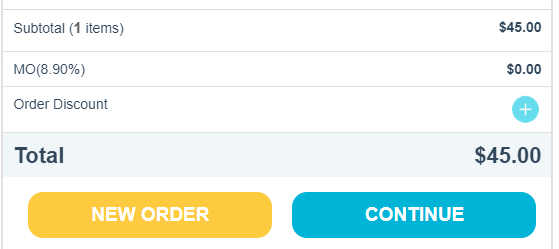
In the Discount section, you can click the “+” to add a new discount to the total price.

You can use the dropdown to apply any preset discounts you may have created, or use the toggle to select between a percentage discount.

Or, when clicking the toggle for percentage, you can instead add a flat-fee discount to the order. Once you are satisfied with your selection, click Continue to complete the transaction.

Payment Methods
Now that you’ve added and confirmed the items to be sold, you’re ready to begin collecting payments. You’ll see an overview of the total cost of items, taxes, and any additional charges accrued. Here’s how each payment view will appear in the terminal:
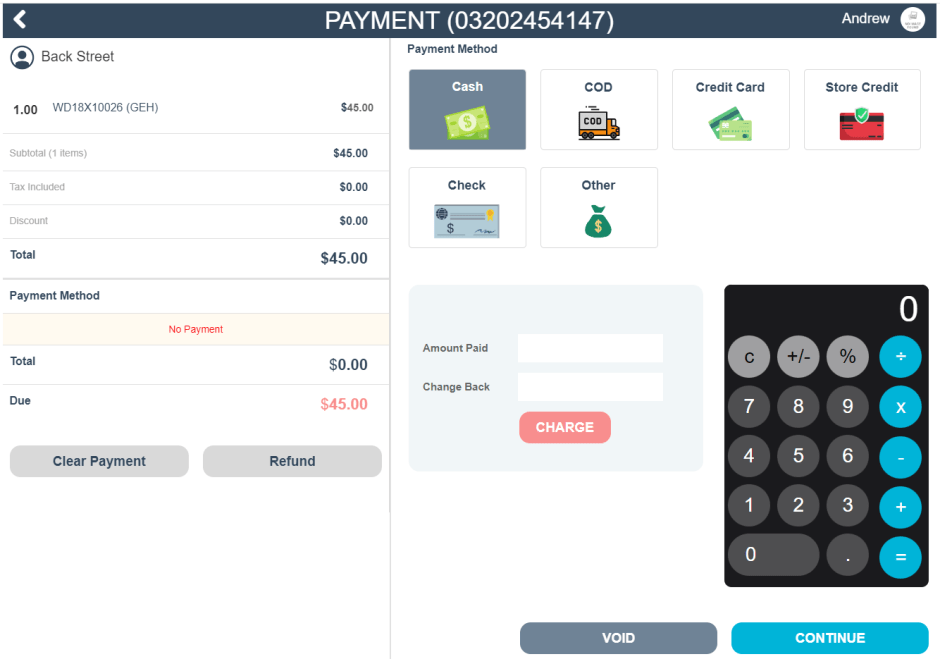
1. Cash
With cash payments, you can enter an amount in the Amount Paid field, and it will calculate any change needed below in the Change Back column.
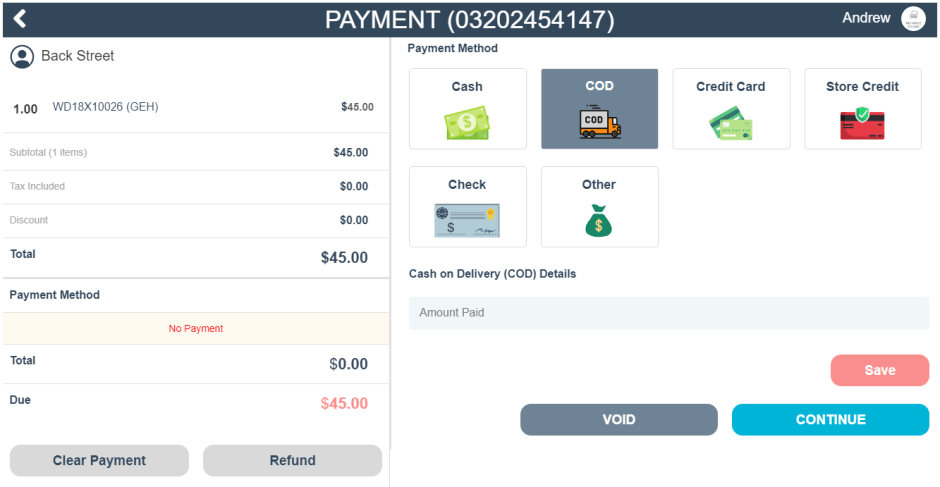
2. C.O.D. (Cash On Delivery)
With the COD option, you can log any payments made upon delivery. (Note: You can apply payments to this order at a later date if the delivery process happens on a separate date from the purchase.)
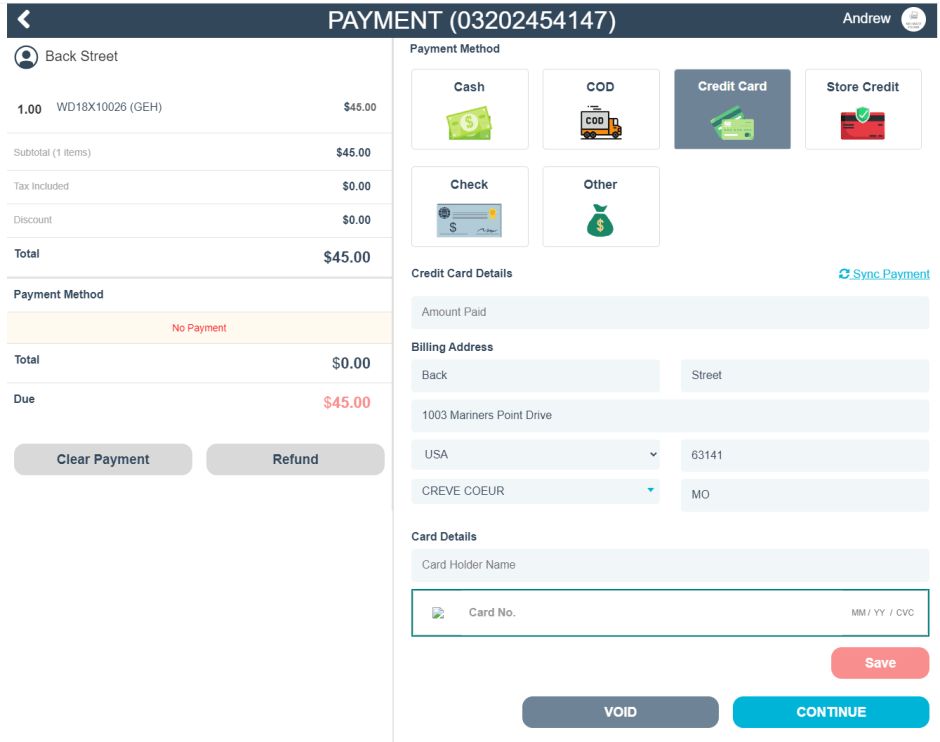
3. Credit Card
With credit card payments, you can enter the card information of the customer to pay for the order. A Sync Payment option is also available for customers with their card already on file.
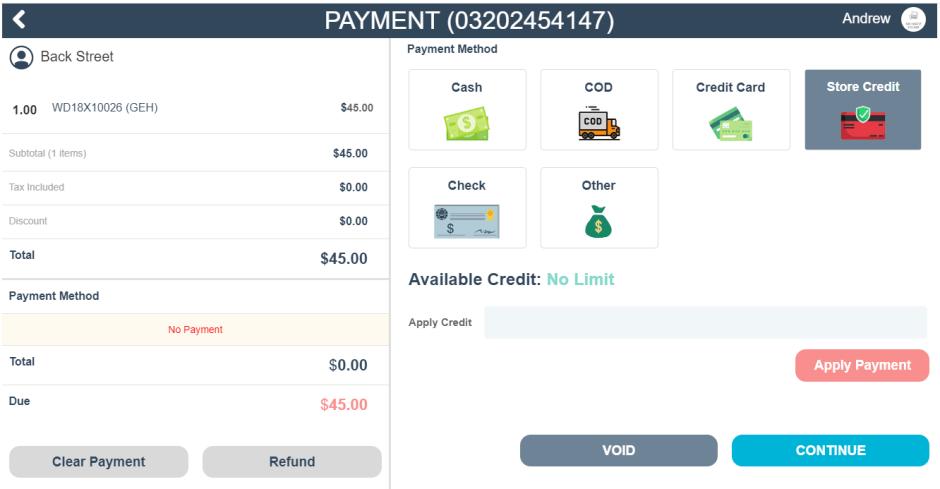
4. Store Credit
With the store credit option, you can pay for an order using credits accumulated on the customer’s account.
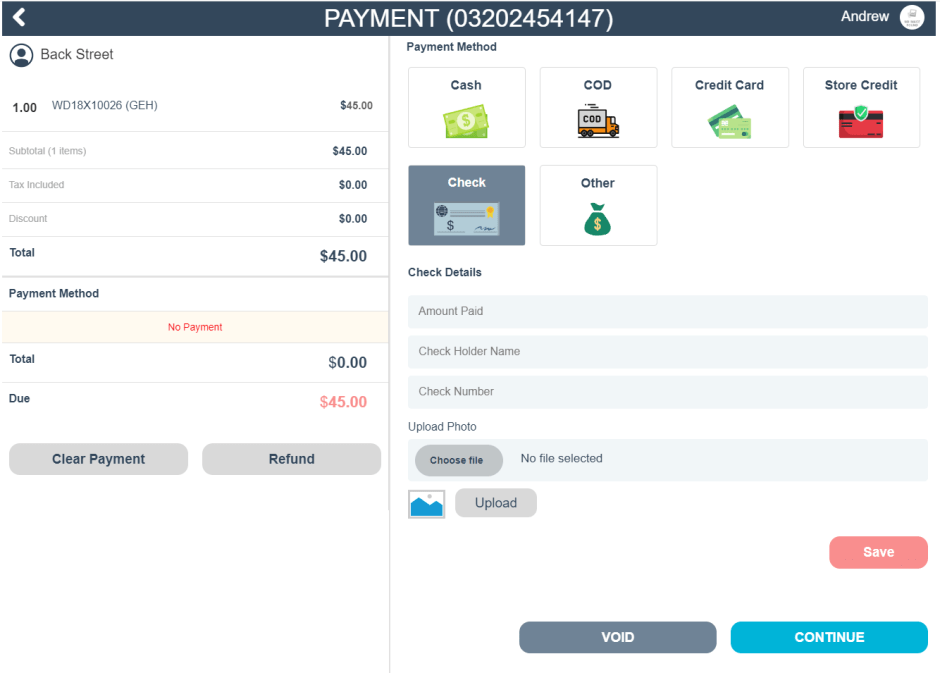
5. Check
With the check option, you can enter information from a paper check to pay for the order. You’ll also have the option to submit a photo of the check for record keeping.
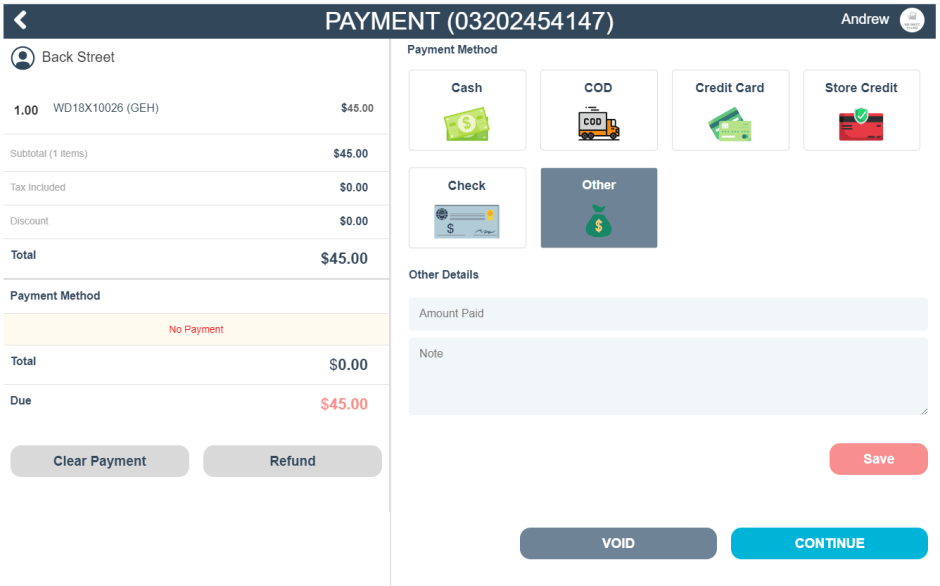
6. Other
Use this field to capture any other accepted methods of payment through your business. You can leave a note referencing the amount or how the order was paid
Once you’ve selected your desired method of payment, you can then determine the following delivery options:
With the Carry Out All option, you’ll signify that the items on this order, once paid for, will be leaving your store by having the customer carry the items out.
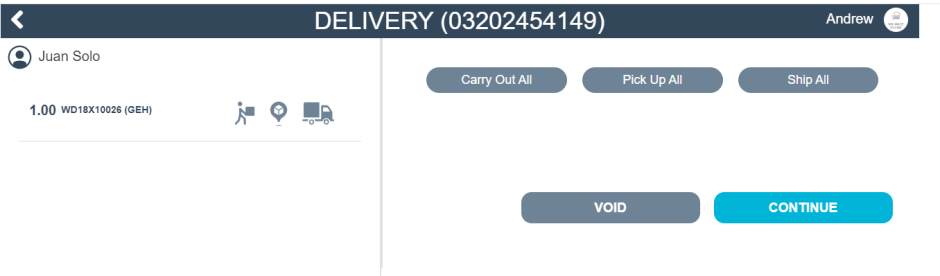
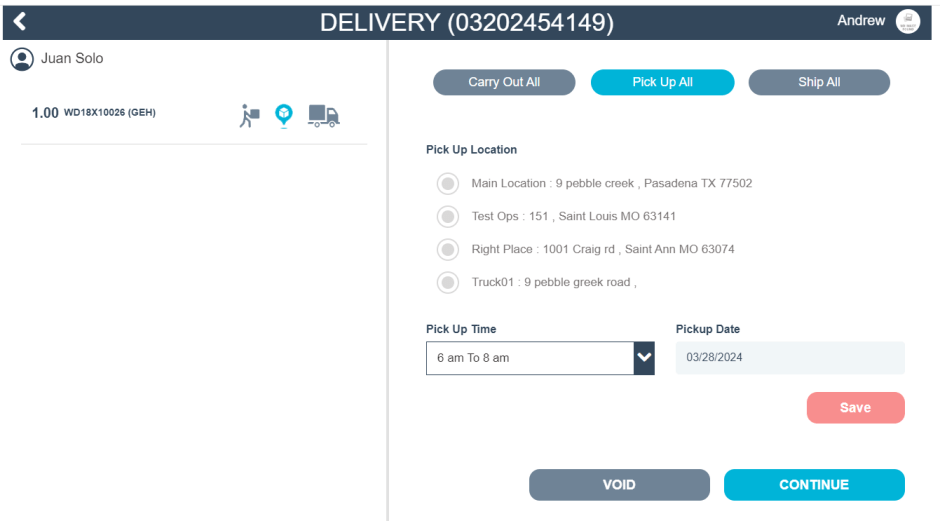
With the Pick Up All option, you can select an inventory location, pickup time, and date in which the customer can go and retrieve their items (learn more on pickup delivery HERE)
And with the Ship All option, you can opt to send the purchased items directly to the customer’s address or an address of their choosing.
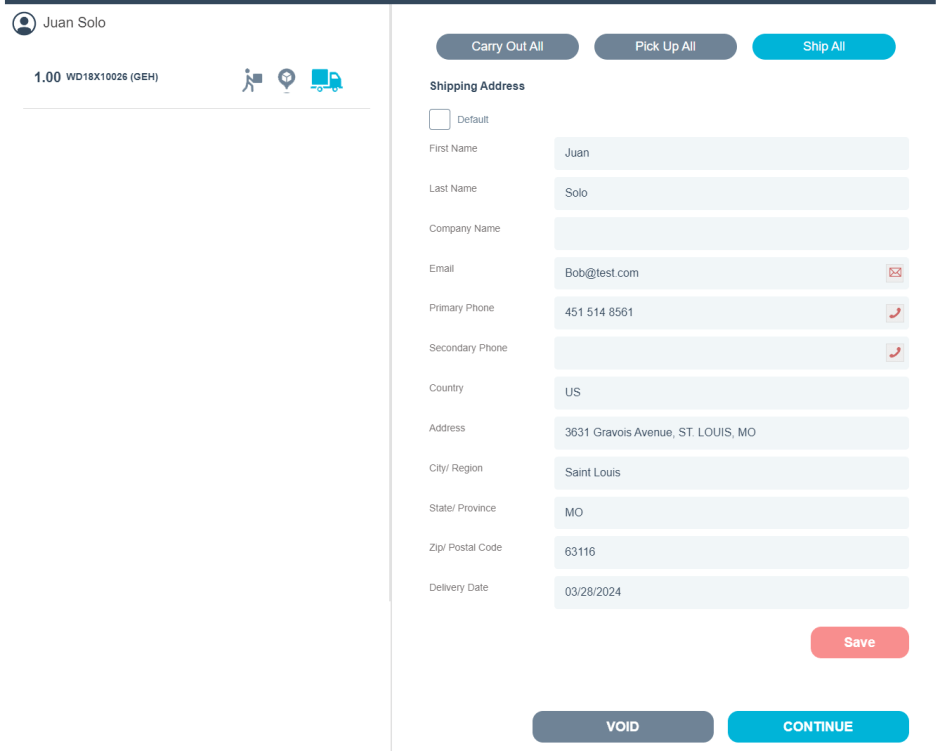
Once you’ve selected and entered the shipping details, your order will be complete!
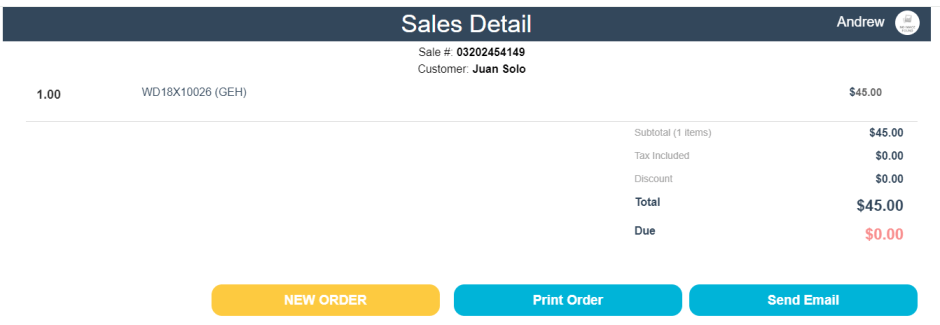
At the end of each order, you’ll be presented with a receipt that can either be printed or emailed to the customer.
Note: Items set to Carry Out All or Ship All will be deducted from your inventory, and items set to Pick Up All will have the item’s status set to Allocated until the item has been marked as picked up.
Clearing, Refunding, and Voiding Terminal Payments
Clearing Payments
In the case of a situation where you’d wish to clear a recorded payment method at the terminal, follow these steps:
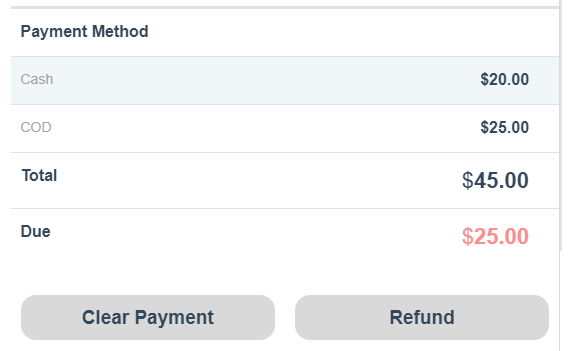
Within the payment method section, highlight the method of payment you wish to clear and select Clear Payment.
Next, you’ll be prompted to confirm that you want to clear the selected payment, click Yes to continue

And finally, you’ll be presented with the option to enter a note in reference to why the payment was cleared. When finished with your entry, click the Clear Payment to finalize the removal of the payment from the order.

Note: You can only clear one payment method at a time, you’ll need to complete this step multiple times to clear multiple payments.
Refunding Payments
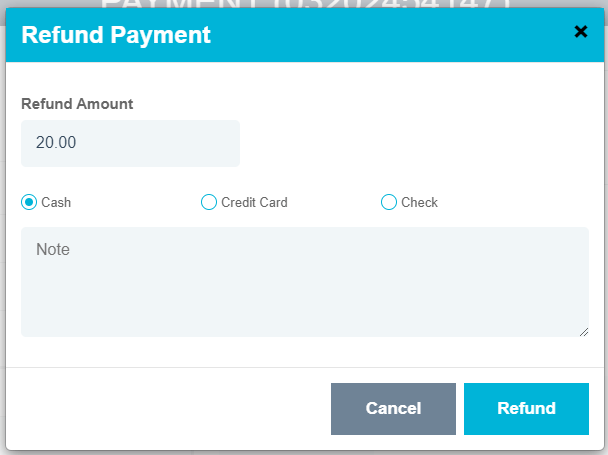
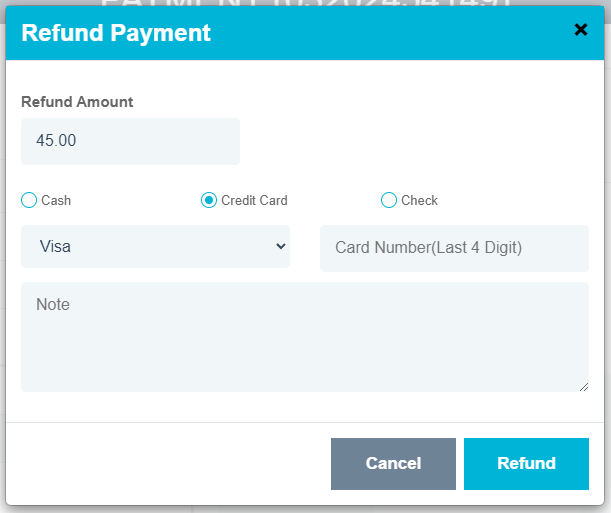
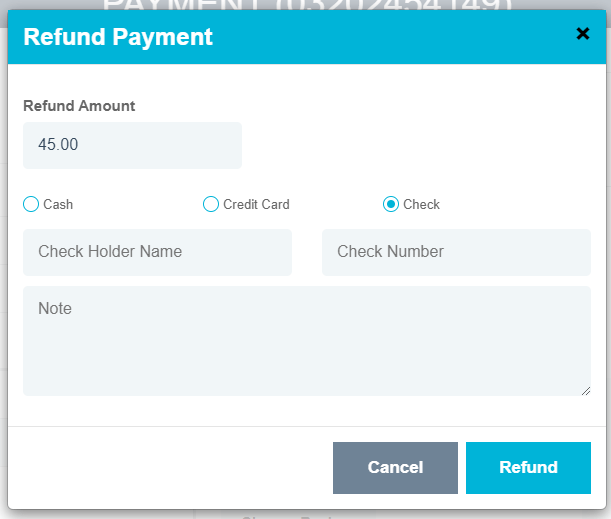
In addition to clearing payments, you can also refund the payment amount. Be advised that you can only refund payments via Cash, Credit Card, or Check. To begin the refund process, click the Refund button in the payment method section

An example of cash refunds:
An example of Credit Card refunds:
And an example of Check refunds:
Voiding Payments
You can also void orders as they’re being created within the POS terminal. To do so, click the Void button on the right side of the terminal menu.

Once clicked, you’ll be presented with a pop up detailing the conditions behind voiding orders with credit applied. Click Yes to confirm the voiding of the order

Once the order has been voided, you’ll be returned to the Customer Order screen, where the order is now highlighted green for easier visibility
